How to test an anti-condensation solution without a climate chamber
The short answer
You do not need a climate chamber to know whether an anti-condensation solution works in your enclosure. Condensation needs two things: humid air inside, and a surface that cools below the dew point of that air. You can recreate both with a fridge or a cold night, and a few drops of water. Take two identical enclosures, one with the solution and one without. Put a small humidity and temperature logger in each. Bring them to a warm, humid state, close them, cool them quickly, and repeat for several cycles. Then compare the maximum humidity, the time spent near saturation, and photos of the coldest surface. If the treated enclosure stays clear while the control fogs, cycle after cycle, you have your answer.
Why this protocol
Many teams who asked us for samples did not have access to a climate chamber, or the chamber was booked for qualification tests for weeks. They still needed a quick, credible answer before committing to a full qualification. This protocol is what we recommend in that situation. It does not replace a qualification test, but it gives a clear comparative result in a few days.
What you need
- Two identical enclosures, ideally your real product enclosure, closed with the same seals and the same screws. If your enclosure has a vent, keep it on both.
- The anti-condensation solution for one of them. For AS-B stickers, start with about one 10 cm² sticker per litre of internal volume.
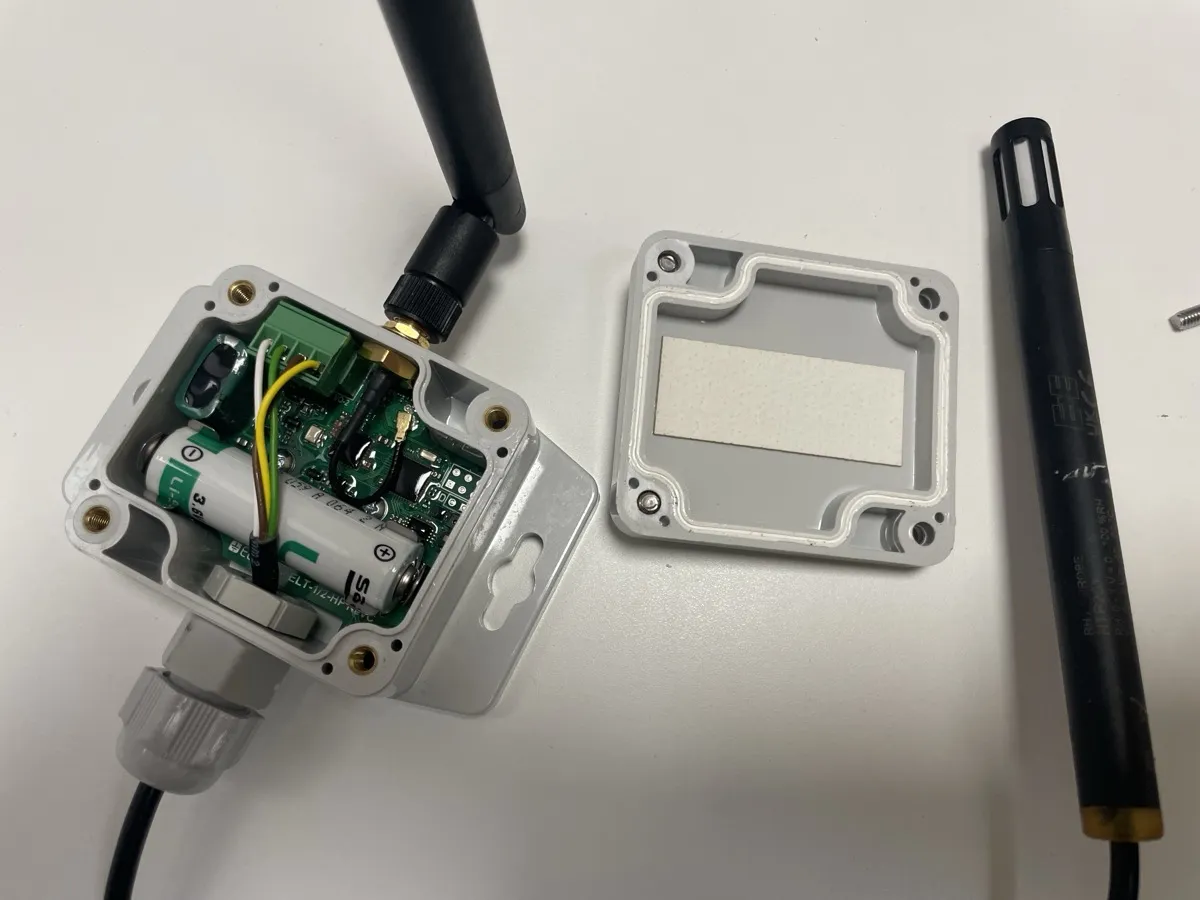
- Two small humidity and temperature loggers, one per enclosure, logging every minute or every five minutes. Check that they read the same value when placed side by side for an hour before the test.
- A source of cold: a domestic fridge (about 4 to 6 °C), a cold room, or an outdoor night below 10 °C.
- A source of warmth and humidity: a warm room, a bathroom after a shower, or a closed box with a bowl of warm water.
- A phone camera to take photos of the coldest wall or window.
- A syringe or dropper if you use the dosing method below.
Step 1: prepare both enclosures the same way
Install the solution in one enclosure only. Stick it on an inner wall, away from the coldest surface you want to watch (usually the window or lens), and away from heat sources. Place a logger in each enclosure, at the same location. Mark them clearly: “control” and “treated”.
Everything else must be identical: same volume, same contents, same seals, same position during the test.
Step 2: load the enclosures with humidity
Choose one of two methods.
Method A, humid air (closest to real life). Leave both enclosures open for a few hours in a warm, humid room, around 25 to 30 °C and above 70 % RH. A bathroom after a hot shower works. Close both enclosures at the same moment, in that atmosphere.
Method B, dosing (more repeatable). Place a tiny open cup in each enclosure, not touching the sticker or the logger, and add about one drop of water (about 0.05 mL) per litre of internal volume. Close the enclosures and let them sit for a few hours at about 25 to 30 °C.
Do not overdose. Saturating one litre of air at 30 °C takes about 0.03 g of water. One drop per litre is already more than enough to cause condensation on cooling. Above all, do not add more water than the desiccant in the enclosure can hold. One AS-B sticker holds about 0.17 g of water at most: a millilitre in a box with one sticker tests the sticker’s capacity, not its behaviour in the field.
Step 3: cool quickly
Move both enclosures together into the cold: the fridge, the cold room, or outside at nightfall. Cool them side by side, with the same orientation, so that the same wall faces the coldest air in both.
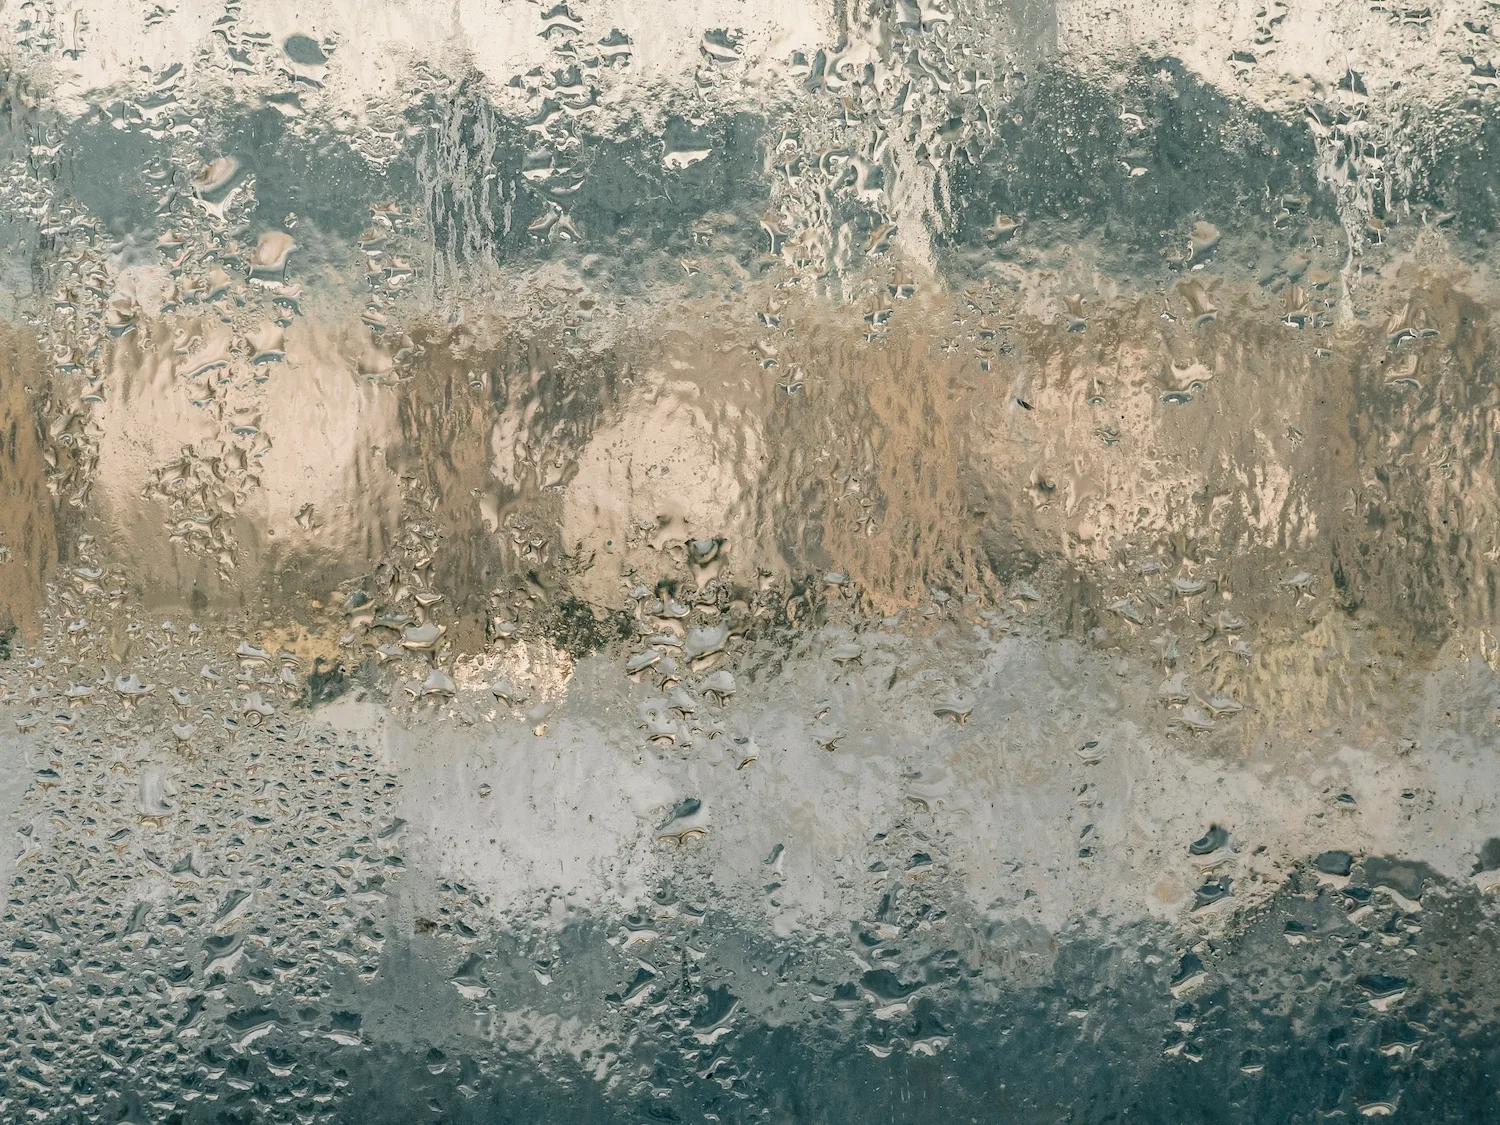
Condensation forms during the cooling, usually within the first hour. If your enclosure has a window or lens, that is where it will show first.
Step 4: observe at the coldest moment
About 30 to 60 minutes after the start of cooling, take photos of the window or coldest wall of each enclosure, without opening them. If you are using a fridge, open the door, take the photos, and close it again quickly.
Look for:
- fog or droplets on the window or lens;
- droplets on the inner walls;
- droplets on the lid seal.
Step 5: warm up and repeat
Bring both enclosures back to the warm room for several hours. This is when a self-regenerating material releases what it captured. Then cool again.
Run at least three to five cycles. A new enclosure condenses little on the first cycle, and the difference between a consumable desiccant and a self-regenerating one appears over repeated cycles. Do not open the enclosures between cycles unless you want to test the effect of maintenance openings, which is a useful test in itself.
Step 6: read the results
Download both logger files and compare four criteria:
| Criterion | What it tells you |
|---|---|
| Maximum relative humidity reached during each cold phase | Whether the air reaches saturation |
| Time spent above 95 % RH, or above the dew point of the air | How long the risk lasts |
| Visible fog on the window or coldest wall | Whether the condensation is visible where it matters |
| Evolution over the cycles | Whether the solution keeps working, or fills up and stops |
A good result looks like this: the control reaches saturation and fogs at every cycle, while the treated enclosure stays below saturation, or reaches it later and for a shorter time, with a clear or nearly clear window.
Remember what the material does: it captures water vapour above about 60 % RH and holds it temporarily during the cold phase, then releases it during the warm phase. So expect the treated enclosure’s humidity to rise during the warm phase too. That is the regeneration, not a failure.
Common mistakes
- Too much water. The most frequent mistake. See step 2.
- Enclosures that are not identical. A different volume, a different seal or a different position makes the comparison meaningless.
- Only one cycle. One cycle does not show regeneration, and the first cycle is often the least humid.
- Sticker on the coldest surface. Stick it on a side wall, not on the window you want to keep clear.
- Undersized solution. Below one sticker per litre, the result depends too much on the conditions.
- Opening the enclosure to look. Each opening replaces the inside air. Take photos through the window, or open only at the end.
Going further
Once this comparative test is positive, a climate-chamber qualification gives you the precise figures for your specification: ramp rate, temperature range, number of cycles. Our Gore vent vs AS-B climate-chamber test shows what such a test looks like, with three IP66 enclosures ramped from 30 °C to 0 °C over 1 h 20.
If your enclosure already has a membrane vent, read Gore Vent, breather vent or desiccant breather: what works? before you start: keep the vent on both enclosures, so that you test the desiccant in your real configuration.
For the theory behind the dew point and why the coldest surface fogs first, see Dew point temperature.
Sources:
- So Sponge, Gore-Tex vent vs SRD AS-B: climate chamber test.
- AS-B capacity: about 0.22 g of SRD per sticker × 0.78 g/g maximum uptake (measured isotherms, 2026), so about 0.17 g of water.
- Water vapour content of saturated air at 30 °C: about 30 g/m³, or 0.03 g per litre (standard psychrometric tables).
- So Sponge, measured adsorption isotherms of SRD (2026): activation threshold around 60 % RH.